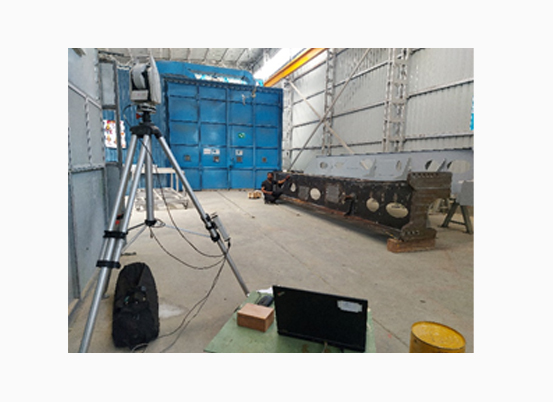
Laser Tracker Services is the portable machine meant for measuring coordinates (Inspection of Large Components). Tracker is highly accurate and reliable and enables us in building products, optimization of processes and alignment of fixtures etc.
Capturing the measurements of a large building, facility, or crash/crime
scene with conventional documentation methods can take days or weeks, and even then, the
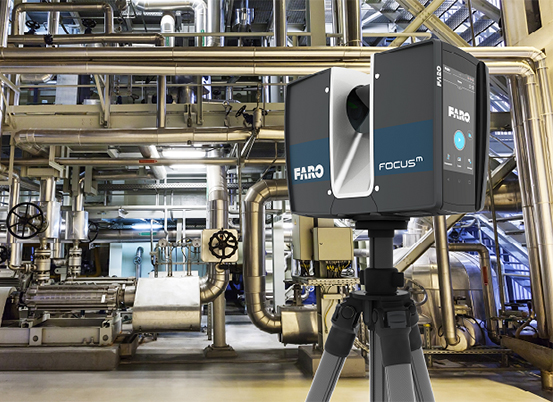
data might contain errors or missing details. But the FARO Focus Premium and FARO Focus Core
create accurate, complete and photorealistic 3D representations of any environment or object
in just a few minutes. Both the Focus Premium and Focus Core are easy to operate and offer
built-in protection from dirt, dust, fog, rain and heat/ cold.
And, for best on-site data capture, Focus Premium connects with the new FARO Stream
app, bridging FARO hardware to the FARO Sphere cloud environment. Pre-registration scans are
fed directly into the cloud, so jobs can be done more efficiently — feedback is captured and
processed as you work.
Combined with FARO’s companion products — Sphere and the Stream app — Focus Premium
(and Focus Core as an optional feature) deliver better data faster. They enable reduced time
to decision while streamlining efficiencies to meet the demands of today’s increasingly
remote, digital workforce.
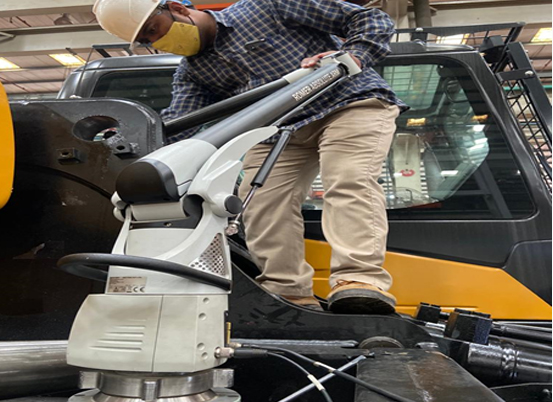
Despite the wide range of options in quality measurement tools, portable CMMs continue to grow in popularity. Companies are experiencing the accuracy results they need, while gaining the flexibility to use the unit wherever and whenever it is most convenient. The savings that result from using portable CMMs include reduced scrap, shorter measurement times, and improved product quality
Hexagon’s PrimeScan optical 3D scanner range is a cost-effective entry-level
solution for 3D digitisation of industrial components. The PrimeScan, like other Hexagon
structured light scanner models, uses fringe projection technology to deliver the maximum
luminous power and projection quality.
The area scanner has a very small footprint, with a base area the size of an A4 sheet of
paper and a weight of less than four kilos. The PrimeScan’s compact design, combined with
its short working distance, makes it perfect for scanning in difficult-to-reach regions,
such as on a desktop or in a narrow and difficult-to-reach part of an industrial
environment. PrimeScan’s robust architecture also makes it suited for usage on robots.
The PrimeScan’s strong projector allows it to scan glossy and dark surfaces without the need
for pre-treatment, and the scanner’s integrated laser pointers make it simple to place the
measuring object. Within greater volumes, certain robots and attachments offer both
automated measuring and convenient data gathering.
Different camera resolutions and measuring fields are available for the PrimeScan depending
on the needed resolution and precision. The blue light scanner comes in eight preset
configurations, allowing users to pick the best instrument for their digitization needs.
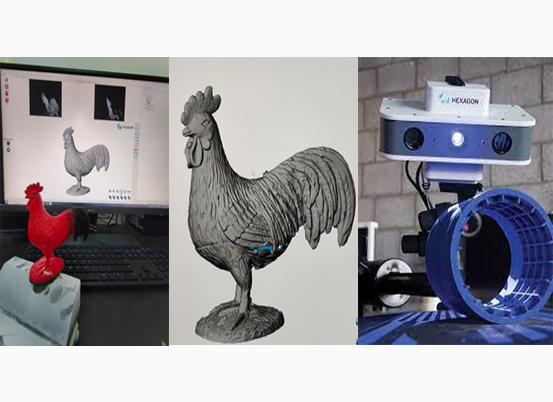
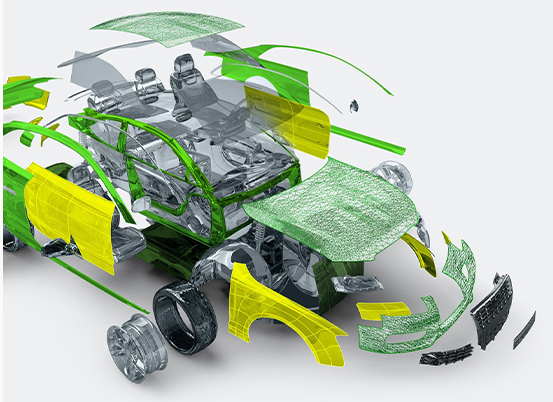
The reverse-engineering process involves measuring an object and then reconstructing it as a 3D model. The physical object can be measured using 3D scanning technologies like CMMs, laser scanners, structured light digitizers, or industrial CT scanning (computed tomography).